Workflow in the PrimeCare Pharmacy is the structured process of prescription filling resulting in accurate delivery of products and services to patients. A built-in system of edits and interventions in the dispensing procedures ensure that pharmacies deliver the correct drugs with the correct information to the correct patients. The Workflow process includes the following:
Prescription Intake
New Order Entry
New Order Verification
Third Party Adjudication
Labeling and Dispensing
Quality Assurance Check
Delivery
Error
Resolution
To set up and use Workflow in the pharmacy:
1. Before using the Workflow process, flags must be set in Facility Management.
2. After setting flags in Facility Management, flags in Security Access, Manage Employees must be set. Individual fields in Workflow can be checked to permit the pharmacist/technician access to that step. When the pharmacist/technician accesses the prescription processing screen, the system displays a window with only those items checked on their Security Access Record.
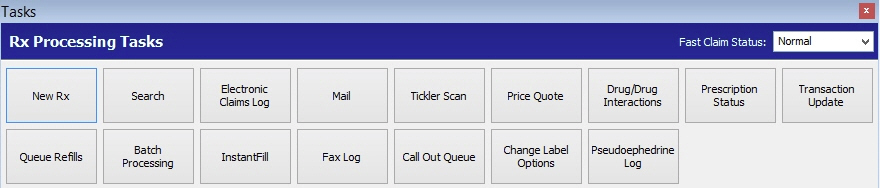
3. When Facility Management and Security Access have been set up for Workflow, the Workflow icon displays on the Rx Processing Task bar. Show Me. Click the Workflow icon and the Workflow Options window displays:
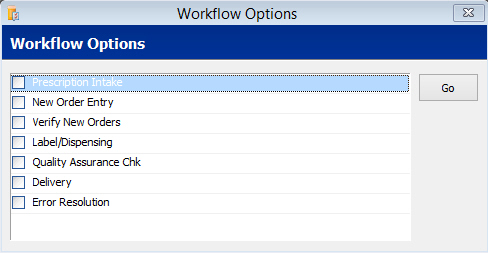
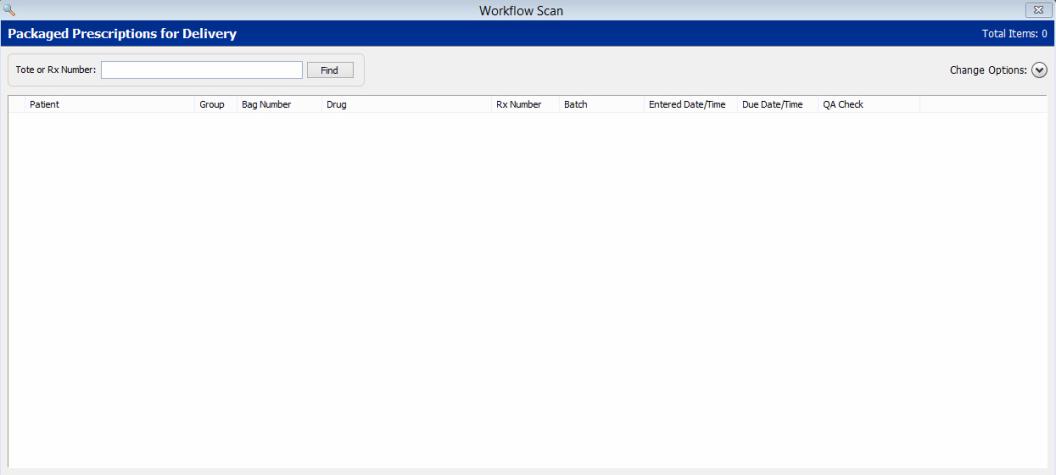
4. Place a check in the box to the left of any option and click Go. The system displays the prescriptions held in that status. For example, check Delivery/Will Call and click Go. Select, Sort and Print Options display, and then Packaged Prescriptions for Delivery/Will Call display:
 When Workflow is turned on, all third
party rejections automatically flow into Error Resolution and should be
handled through the Error Resolution queue, not the Electronic Claims
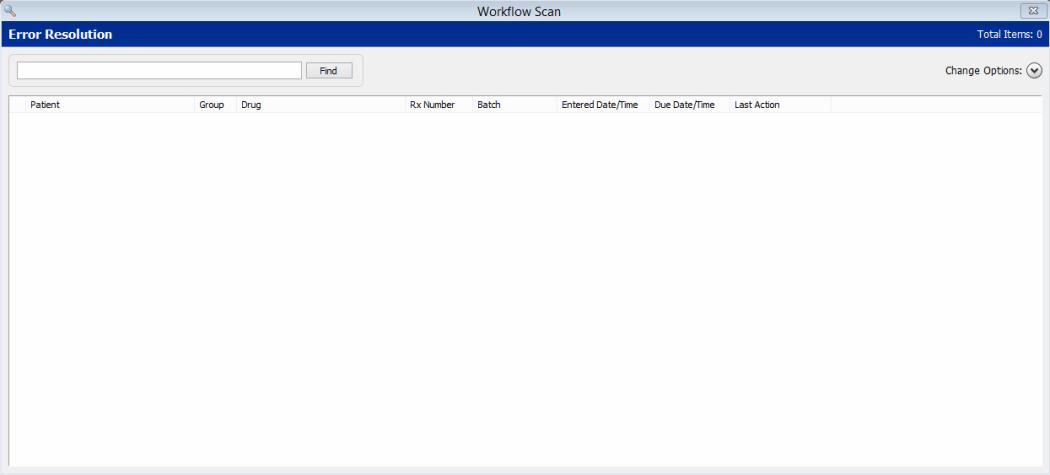
Log. For example, check Error Resolution and
click Go. Rejected claims display:
When Workflow is turned on, all third
party rejections automatically flow into Error Resolution and should be
handled through the Error Resolution queue, not the Electronic Claims
Log. For example, check Error Resolution and
click Go. Rejected claims display:
Place a check next to
the claim to review and click ![]() . The Claim Reject Detail
window displays:
. The Claim Reject Detail
window displays:
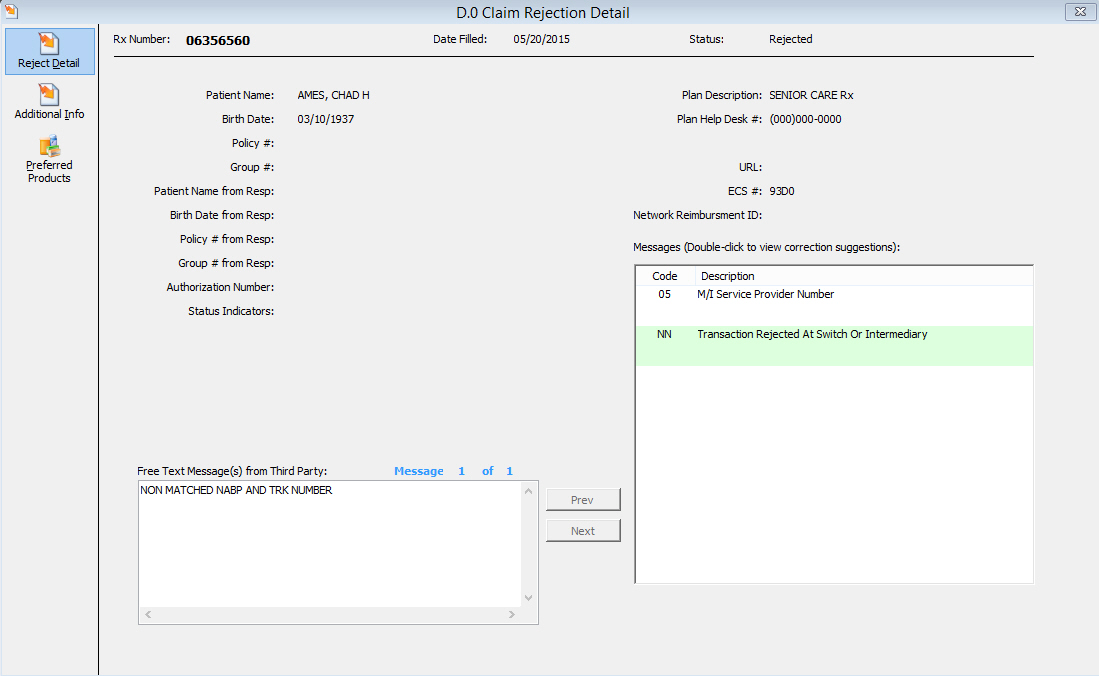
Process the rejected claim as usual.
5. Use the definitions as a guide to set up Workflow steps:
Prescription Intake
The Prescription
Intake function is used to scan and store prescription images
in a Workflow queue until a pharmacist or technician enters the prescriptions
in the system. This streamlines prescription processing by dividing
two steps in the process - scanning images and prescription entry
- and creating separate workflow steps.
Verify New Prescriptions
If this option is checked, New Order Entry does not process clinical scans. All new orders, including those with clinical alerts, are held in queue to be verified by the pharmacist.
Label and Dispensing
If this option is checked, then labeling proceeds with the default (select the Fill icon and the label prints). If Batch Processing is used, batch labels print. If this option is checked and the next two options, Auto Print Labels and Perform NDC Check, are unchecked, all processed prescriptions queue in Label/Dispensing for later printing.
When this option is checked, the Print Labels option
in Filling Options is unchecked when filling a prescription.
Auto Print Labels
To activate this option, the Label and Dispensing option must be checked. If Auto Print Labels is checked, labels print according to the fill function used. The option's purpose is to automatically print labels when the prescription is filled. If delayed labels are used, along with a Fill and Print function, the label prints automatically when the prescription is adjudicated and paid. If Auto Print Labels is unchecked, labels must be printed outside the Label and Dispensing queue.
Perform NDC Check
To activate this option, the Label and Dispensing option must be checked. This option displays the NDC Verification screen on the Rx Summary screen when a prescription is selected from the Label and Dispensing queue. If this option is off, the label prints and the system returns to the Label and Dispensing queue. When Auto Print Labels and Perform NDC Check are both checked, labels print as soon as prescriptions are ready. The label can be used to verify the prescription. After verification, click Complete to go to the next prescription or back to the Label and Dispensing queue.
Drug Label on NDC Match
Select a label from the drop-down to print when the NDC is verified.
Quality Assurance Check
If this option is checked, the prescription is checked against the prescription on the screen. If using Images and Imprints, an image of the drug displays on screen.
Perform NDC Check
This option determines whether NDC verification is performed in this step or in the Label and Dispensing check. If the NDC is already checked, there is no reason to check again in this step.
Drug Label on NDC Match
If the label was printed during Label and Dispensing, do not check this option. If not, select a label from the drop-down to print when the NDC is verified.
Perform POS Check
Check this option to prevent prescriptions that have not been processed through Quality Assurance from being checked out in Point-of-Sale.
Delivery/Will Call
Check this option to display previously entered orders waiting for Order/Delivery Pickup. Prescriptions and batch barcodes can be scanned and placed in predetermined locations in the pharmacy.
Record Patient Signature
Check this option to prompt for patient signatures with the delivery of prescriptions.
Record Delivery Information
Check this option and the system automatically records delivery information in the Workflow process.
Create/Edit Locations
Click Create Locations and complete the fields for Location, Refrigerated and Usage/Capacity. When entries are complete and saved, the link changes to Edit Locations. Click the link to display the locations for prescription storage.
The Security Access option, Assign Locations in Workflow,
must be checked for the employee signing onto the system to display the
Assign Locations icon on Rx Processing Tasks.
Auto Assign Location
If Label and Dispensing is checked, locations are assigned during this Workflow step. If it is not turned on, locations are assigned in the Verification step. If Workflow is not turned on, locations are assigned during general prescription processing. Prescriptions are assigned to the bin with the most storage space available. If a batch number is assigned and one prescription is processed, all subsequent prescriptions are placed in the same location.
Return to Stock After (Days)
If using IVR, do not set this value below the IVR Days Between Fill and Last Call. The default entry is three more days than the IVR value.
Auto Complete on NDC Match
Check this option and the system automatically completes the step and returns to the queue.
Save Rx Note as Workflow Note
This option is checked by default. If you do not wish for Rx Notes to display in the Workflow Scan under the Note column, deselect this option.
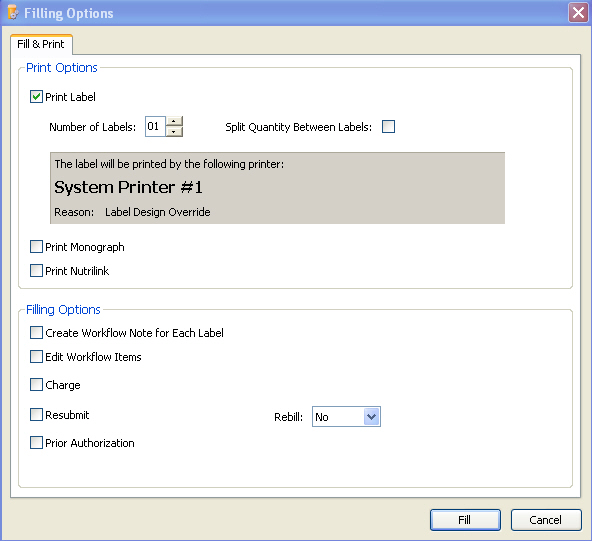
Filling Options for Workflow
The following options are available on the Filling Options window of the Prescription Record.
Create Workflow for Each Label: Check this box in order to create individual workflow records for each label. This option can also be check in order to split a workflow record for partial fills. This option automatically defaults to checked if the number of labels is greater than 1 and the Split Quantity Between Labels is checked.
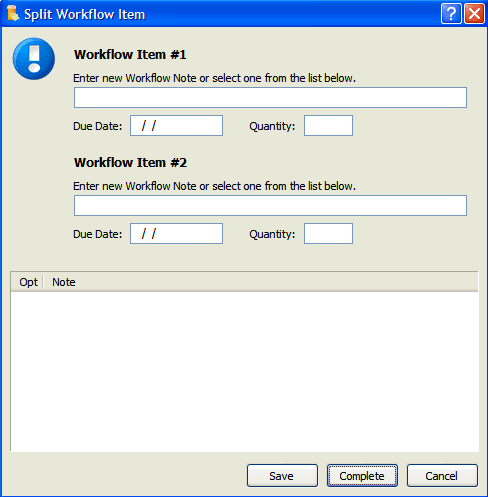
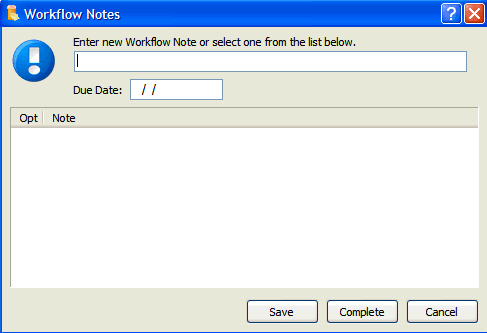
Edit Workflow Items: Check this box to enter a workflow note. If Create Workflow for Each Label is checked, the Split Workflow Item screen displays.
Workflow records cannot be split in the New Order Entry or Verifications
steps of workflow. A workflow note may still be created by using the Pend
function. The prescription is then sent the Error Resolution.
Splitting Workflow Records and Accessing Workflow Notes
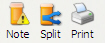
Label and Dispensing and Quality Assurance workflow queues allow workflow records to be split and workflow notes to be accessed if NDC Check is turned on. The toolbar on the Rx Summary screen displays the following icons:
Split - Displays the Split Workflow Item screen.
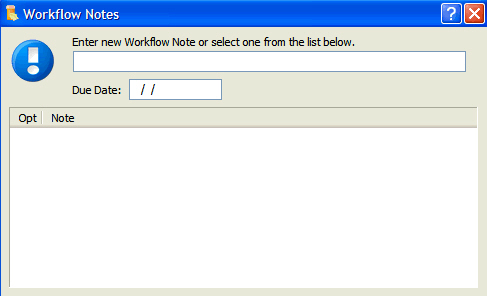
Note - Displays the Workflow Notes screen.
Print - Reprints the label using the quantity from the workflow record if populated.
Workflow notes and multiple workflow records can be printed on the Consolidated
Delivery Sheets. Answer YES to
the Print Notes Print Option. Answer NO
to the Combine WF Rcd Print Option in order to print every workflow record
for a multiple workflow record prescription. Yes prints only the first
record. The quantities of both the workflow records are combined in this
case. The note of the first record prints if the Print Notes Print Option
is set to YES. The delivery sheet must be sorted by Rx number in order
for the Combine Workflow option is being used.