File Purges
The File Purge process flags records for deletion (places a # sign in
the delete field). When the purge is complete, a compression must be performed
to remove the flagged records from the file.
 Prior
to purging files, a backup should be made. To back up files in QS/1, click
System Utilities. Select Master File Maintenance and click Copy
File. Select the file to backup up and specify the path to save the
file. After the backup is complete, follow the steps below.
Prior
to purging files, a backup should be made. To back up files in QS/1, click
System Utilities. Select Master File Maintenance and click Copy
File. Select the file to backup up and specify the path to save the
file. After the backup is complete, follow the steps below.
To purge files:
- Access PrimeCare.
- Click System
Utilities. Select Master File
Maintenance and click File
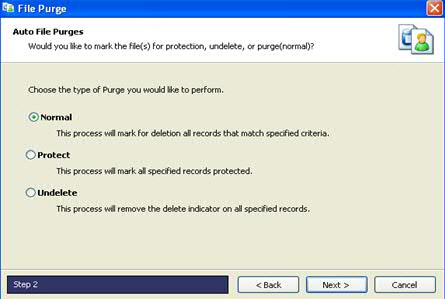
Purges. Auto File Purges displays:
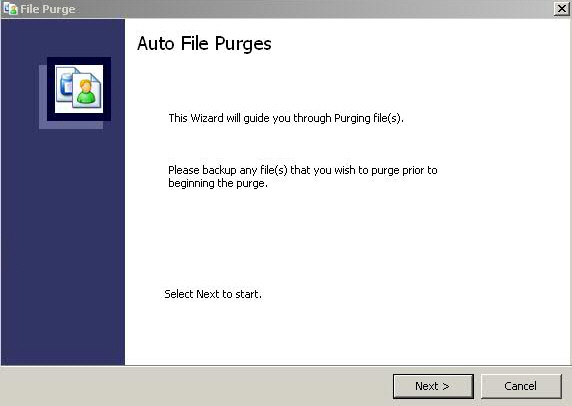
- Click Next.
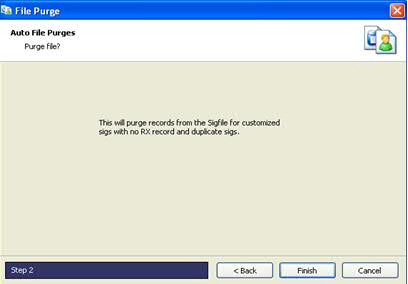
The files available for the purge process display. To better explain
the process for purging files, we have numbered the Purge Selections.
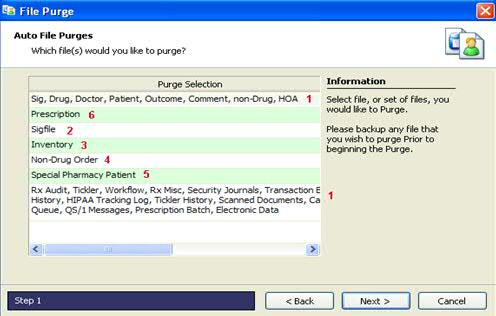
- Each numbered option
is explained below:
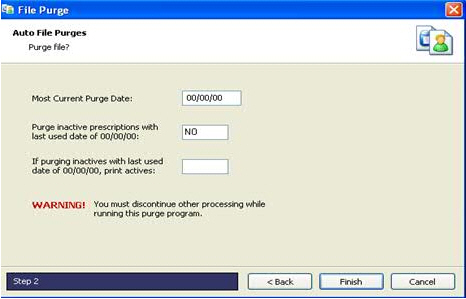
Option 1
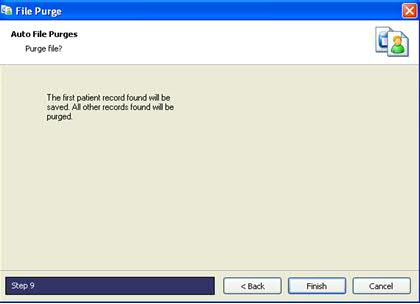
Option 2
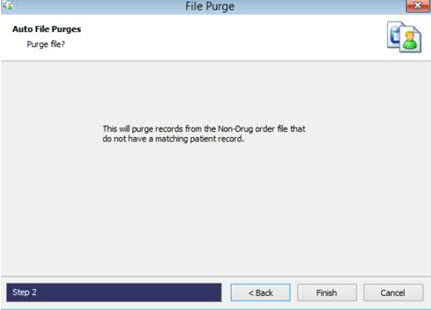
Option 3
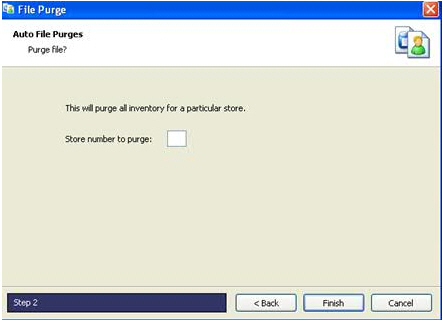
Option 4
Option 5
Option 6
Return to Master
File Maintenance