19.1.33 NRx Enhancements
_____________________________________________________________________________________________
Important Notice
Welcome to your new Help Guide experience! In response
to Adobe ending its support of Adobe Flash on December 31, 2020, we have
migrated to HTML5. We really hope you enjoy the new look and feel of Help.
Thank you!
With you in mind, we're striving to improve the look
and usability of Help. While we take actions to enhance your experience,
you'll notice format and layout changes to new and existing topics. Over
time, we hope you'll enjoy these improvements. As always, thank you for
visiting!
__________________________________________________________________________________
Here's What's
New in NRx:
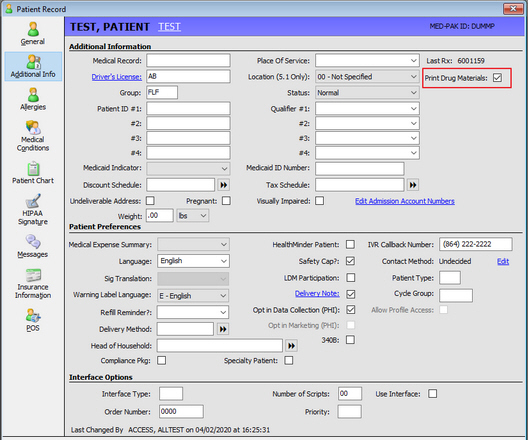
Print
Drug Materials
Patient
Sex
RxFill
Patient Phone
About
Screen Details for NCPDP and EPCS
Skip
Label Only for Interfaces
POS
Vendor Checkout
SMS
Message Patient Age
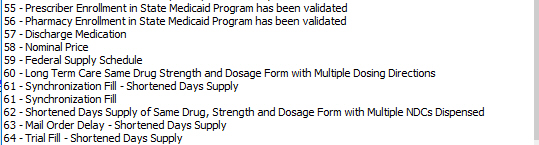
Submission
Clarification Codes
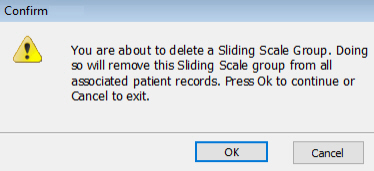
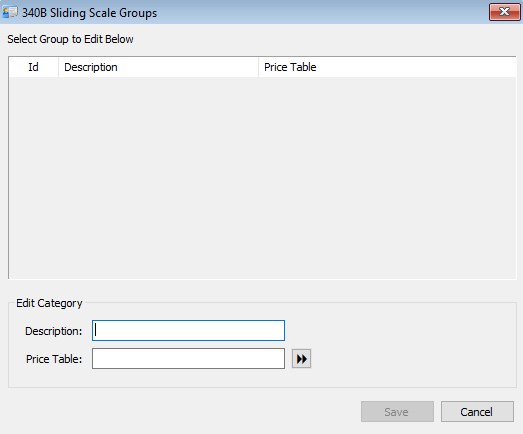
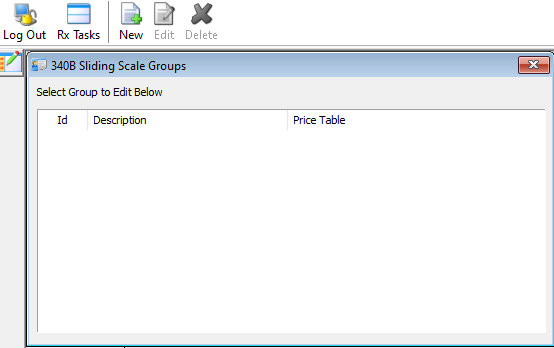
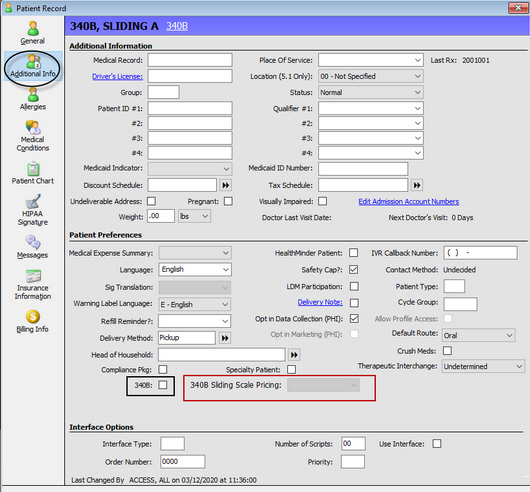
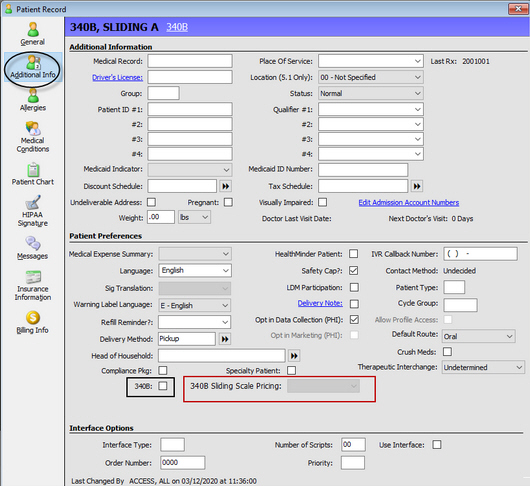
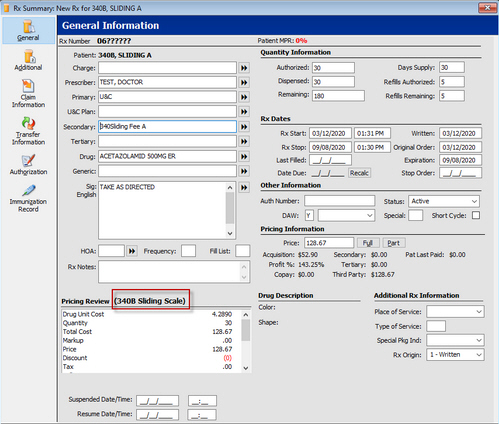
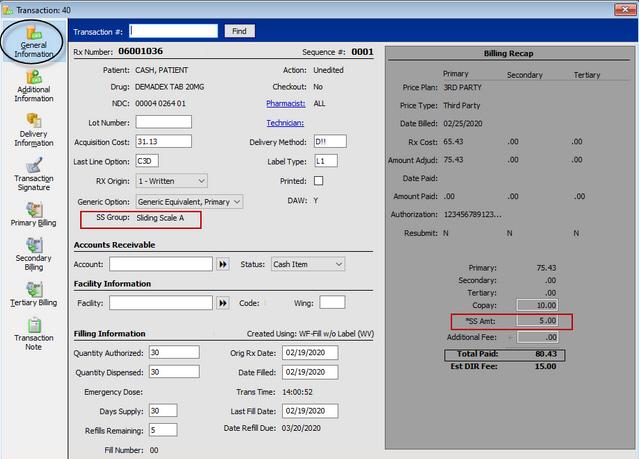
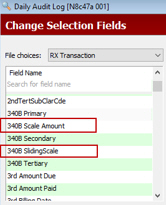
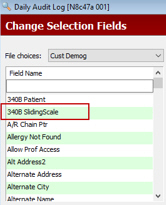
340B
Sliding Scale Pricing
Account
Receivable Totals
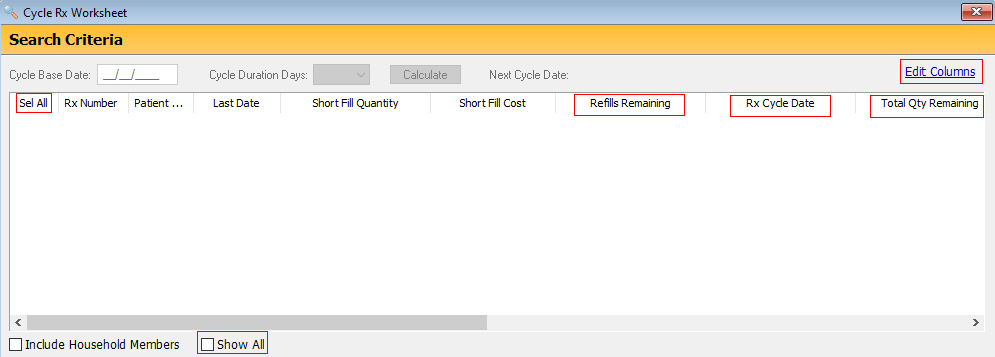
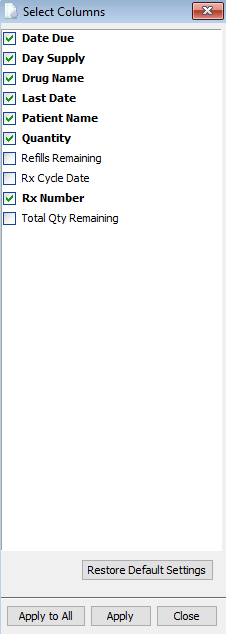
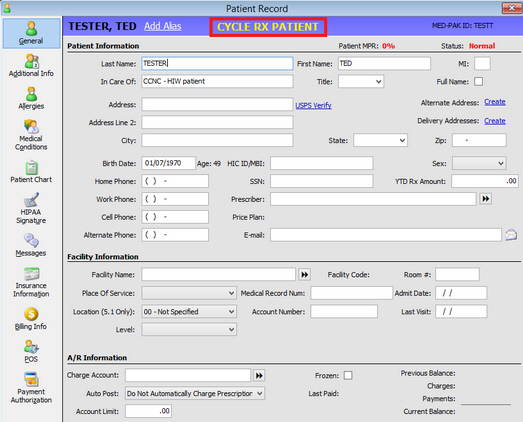
Cycle
Rx
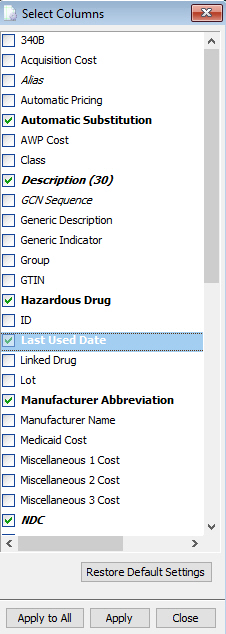
Last
Date Used in Drug Scan
End
Date for Community Pharmacy Enhanced Service Network (CPESN)
New
SNOMED Codes
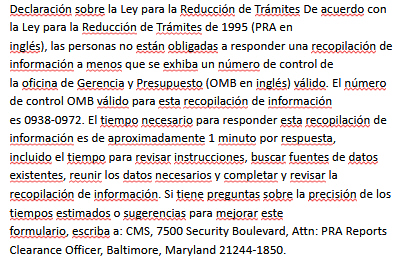
CMS
Notice For Part D Printout Updates
Delivery
Tips
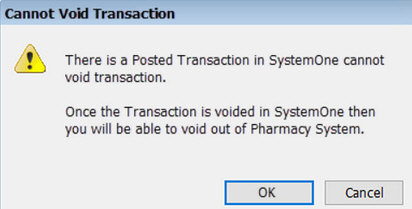
Serial
Number
Voided
Transactions to SystemOne
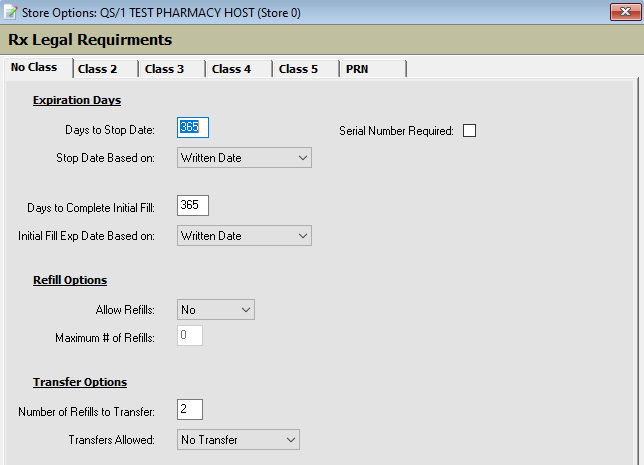
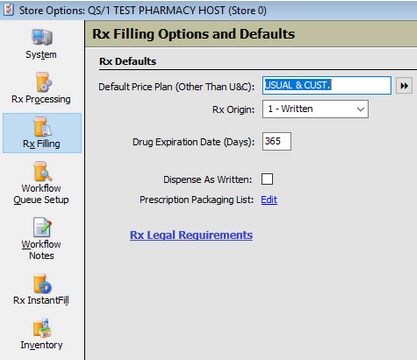
Rx
Legal Requirements
Trademark
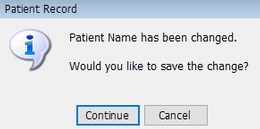
No
Auto Save for Patient Name
Return
to Stock Report
Class
2 Stop Order Date Display Message
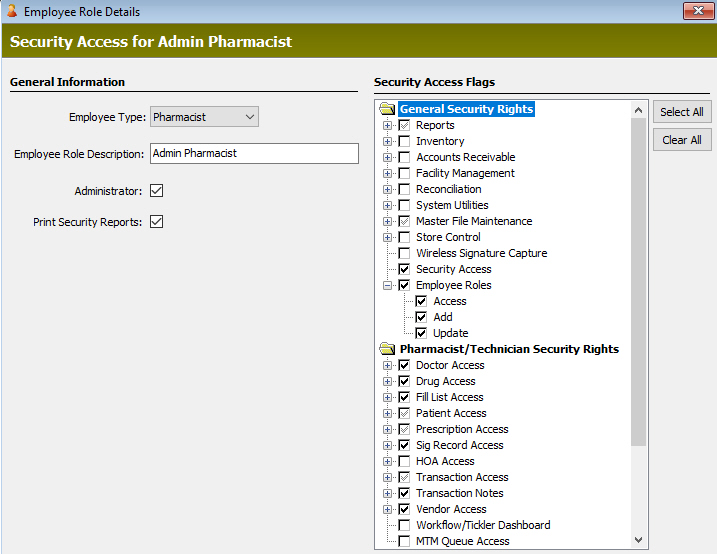
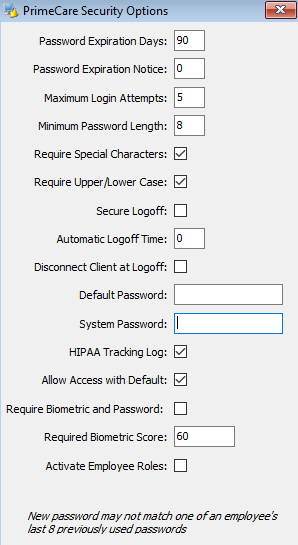
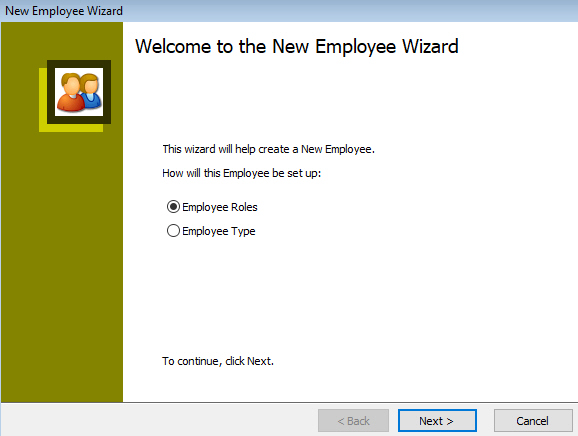
Employee
Roles Security Access
___________________________________________________________________________________________
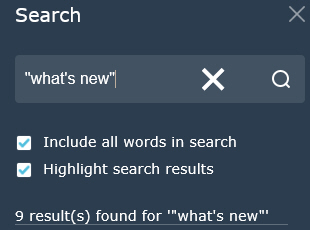
Help Guide Tips:
Help
Guide Search
Return
to Homescreen from Topics
_________________________________________________________________________________
Return to What's New