The Data Export module is used to copy data from system databases into a third-party spreadsheet or other database application for analysis and reporting.
Fields exported through Data Export may be edited if you are using the file type Comma Delimited ASCII. This is the default file type on the Set Export Options screen. Character, packed numeric, date and time fields can be edited and calculations can be performed between fields such as amount, price, markup, etc. View details for edits and calculations.
To run a data export:
1. Access PrimeCare.
2. Click System Utilities, Data Export. Select New, Saved or Export to MSM:
New: Follow the same process as when creating a new customized report. Use Set Export Options to direct the export to the desired output.
Saved: Type the report name in the Find field on the Saved Custom Reports Scan. Double-click the report name or press the corresponding function key to select a specific report. Complete the Select and Sort Options. Use Set Export Options to direct the report to the desired output.
Export to MSM: Select the file to export. Notes display tips for each file. Click Next. Complete the Select Options and click Finish.
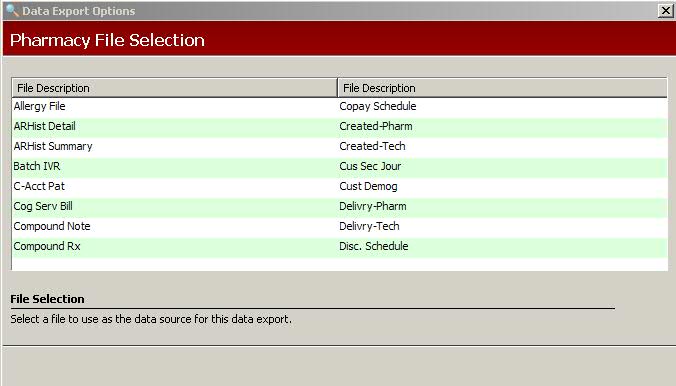
3. If New was selected, the Pharmacy File Selection screen displays:
4. Double-click the file to use for the export. The fields for the file selected display. To use data from a field, highlight that field and click Add.
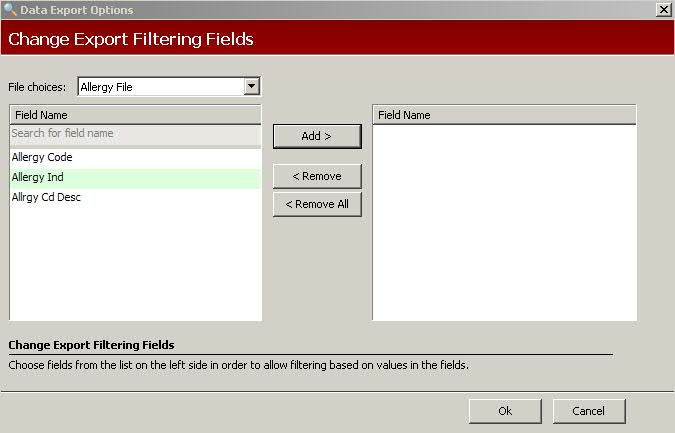
5. When all fields are selected, click Ok. The Export Filtering Options screen displays:
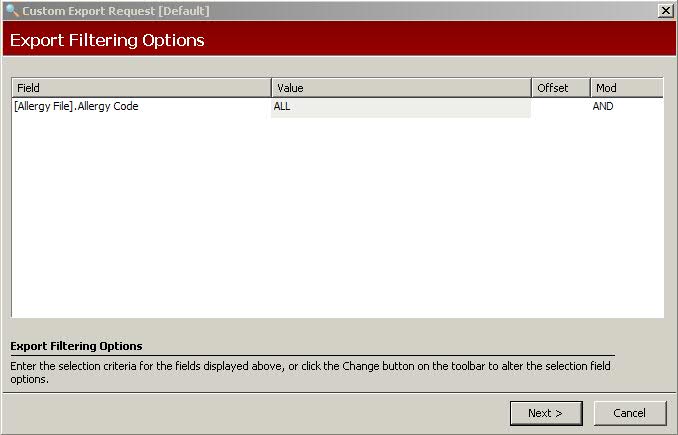
6. Complete the filtering options screen to determine data to print for the export. Click Next. The Change Exported Fields screen displays:
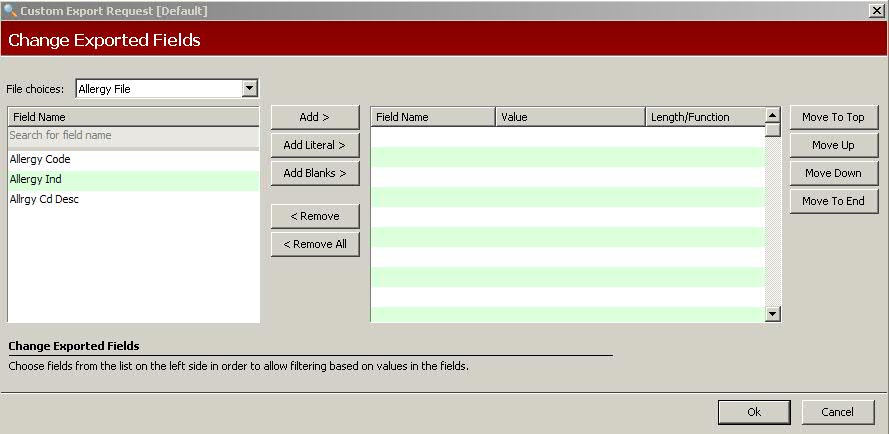
7. Select the fields to export by highlighting the field name and clicking Add. When all the fields to export are added, click Ok. The Set Export Options screen displays:
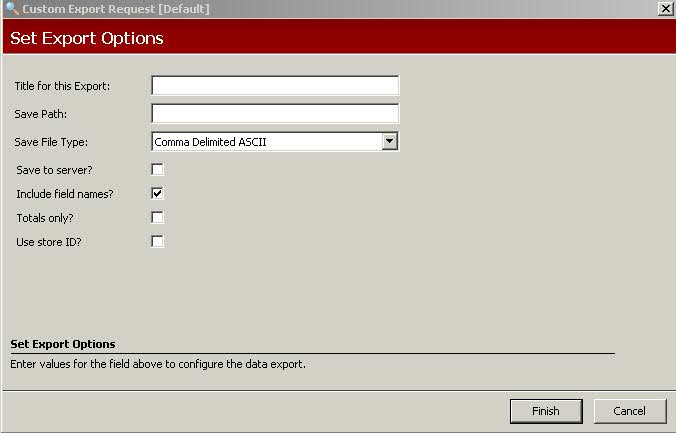
8. Use the definitions below to complete the options:
Title for this Export: Type a title for the report
Save Path: Type the path to use to save the report file. To export to a hard drive, type the drive letter followed by :\ and then the file name.
Save File Type: Default is Comma Delimited ACSII. Select a valid entry from the drop-down list.
Save to Server?: Check to export the file to the hard drive on the server.
Include Field Names: Check to include the field names on the first record.
Totals Only: Check to print totals only.
Use Store ID: Check to print the Store ID on the report.
Beginning Tr Nbr: This option displays if the primary input file is the Rx Transaction file. If a transaction number is entered, the system does not export transactions prior to that number.
9. Click Finish when the export options are complete. The option to save the data export displays. Click Yes or No.
10.The number of records written to the export displays. Click OK.
Return to Optional Services