The Customized Report Import option offers the ability to download and save report templates from the QS/1 website into your system.
The process of generating a report in PrimeCare involves a set of steps referred to as Report Logic. These steps include selecting data, sorting the selected data in a certain order and then printing the report. Review Reports Overview for details on these steps.
To import a report:
1. Access PrimeCare.
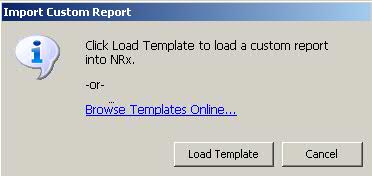
2. Click Reports. Select Customized and click Import. The Import Custom Report window displays:
3. If you have already downloaded reports from the web site, click Load Template and the folder for the last saved file from the web site opens. Select the file to import. You then have the option to change the Select, Sort and Print Options.
4. If you have not downloaded reports from the web site, click Browse Templates Online to view reports saved on the Web site:
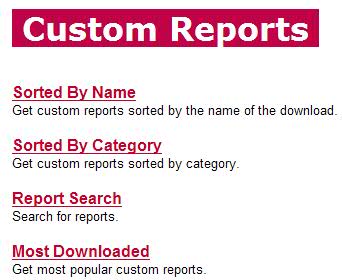
5. Select a Custom Report Category and then select a report from the list. Click the Report Name to review the printed fields. Click Download to save a copy of the report to the workstation that accessed the web site. When the File Download prompt displays, click Save. Select a file location on the hard drive. Click Save. Click Close.
 If the report file name contains too many characters, a message displays
prompting to save the report to a different folder or rename the file.
If the report file name contains too many characters, a message displays
prompting to save the report to a different folder or rename the file.
6. Access Customized Reports and click Import List. Click Load Template. Select the name of the report and click Open. A message displays indicating a successful import: