19.1.36 NRx Enhancements
__________________________________________________________________________________________________________________________________________
Here's
What's New in NRx:
Split
Incoming and Outgoing Electronic Messages
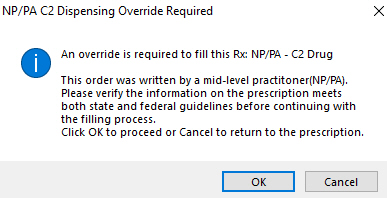
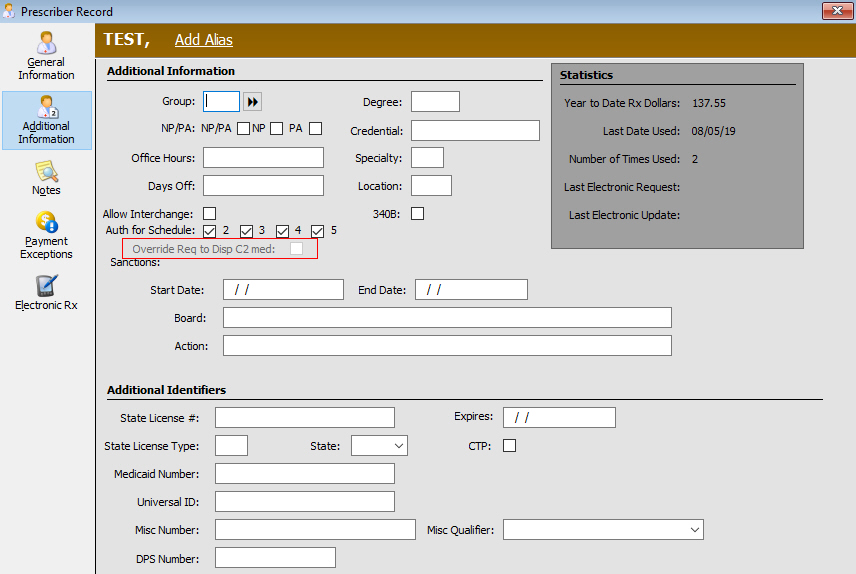
Override
for Nurse Practitioner or Physician's Assistant on Controlled Substances
PRNs
for NewRx for NCPDP SCRIPT Version 2017071
PRNs
for RxFill for NCPDP SCRIPT Version 2017071
Rebuild
Keys
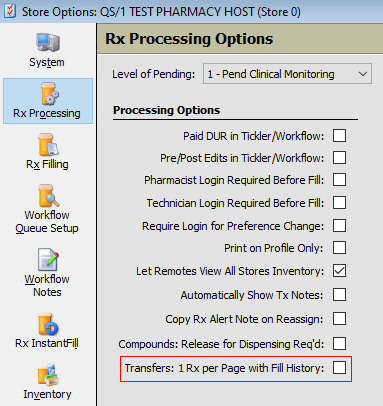
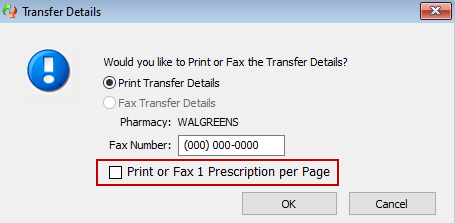
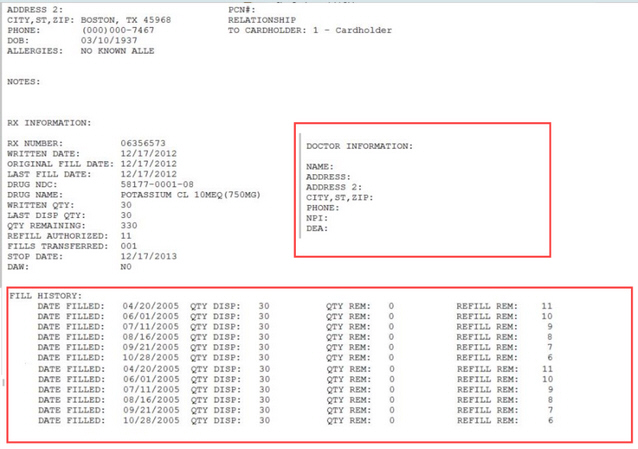
Transactional
Refill Records for Transfer Form
HME
Documentation for OmniSYS
HealthMinder
Rx for Application Programming Interface (API)
Rx
Intake
Reactivate
IVR Refills in Mail Scan
Enhanced
A01 Report
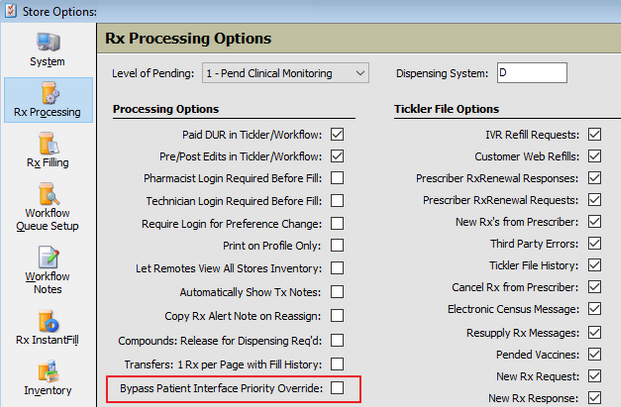
Bypass
Patient
Interface Priority Override Store Level Option
HIPAA
De-identification of Patient Education Monographs (PEMs)
Supervising
Physician Information on eRx Hard Copy
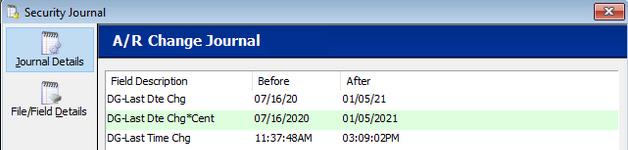
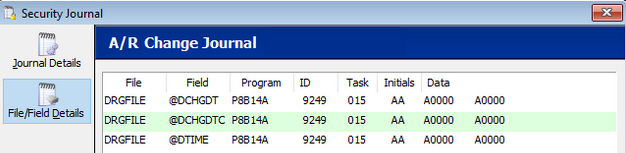
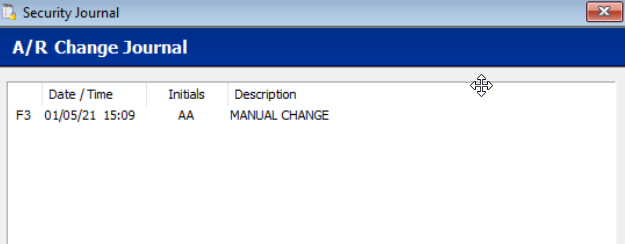
Security
Journals for Accounts Receivable
CancelRx
Tickler/Cancel RxRequest Unprocessed
Report
Third Dose Booster for COVID-19
Florida
Prescription Monitoring Program (PMP)
Mississippi
PMP
Connecticut
PMP
Reporting
for Network Reimbursement ID
A01
Barcode Issue
___________________________________________________________________________________________________________________________________________________________
Help Guide Tips:
Help
Guide Search
Return
to Homescreen from Topics
___________________________________________________________________________________________________________________________________________________________________________
Return to What's New