To access Store Level Options/Workflow Queue Setup:
1. Click Store Control, Store Level Options.
2. The Store Level Options/Systems window Displays.
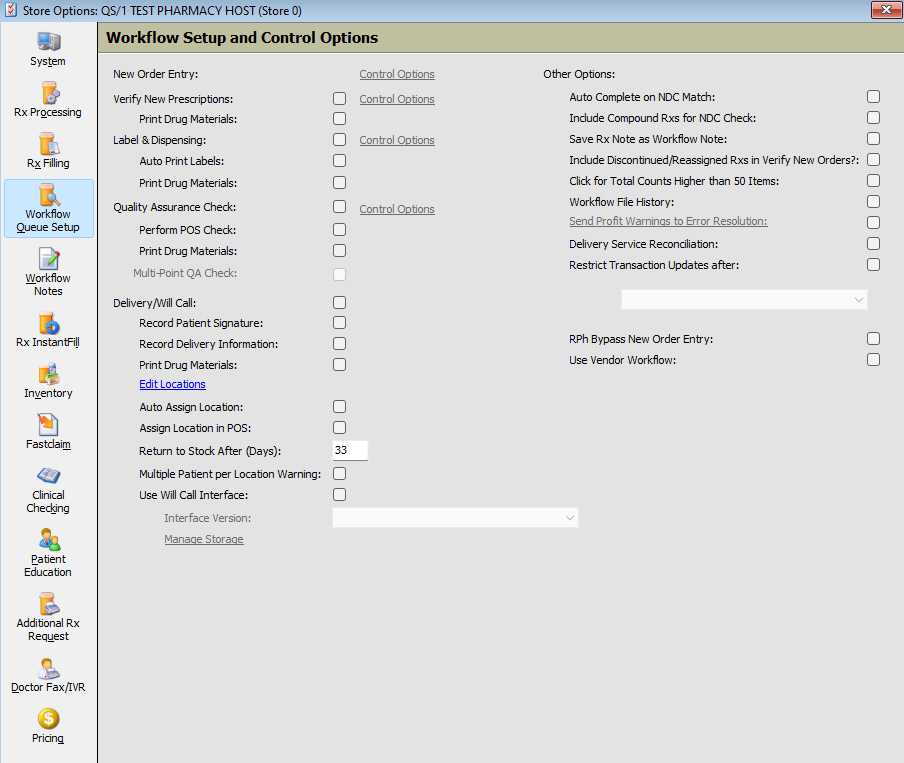
3. Click Workflow Queue Setup on the vertical icon bar. The Workflow Setup and Control Options window displays:
4. Use the definitions below to determine how to set the options:
| Workflow Setup and Control Options | |
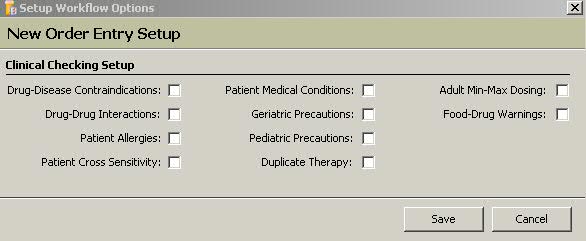
| New Order Entry | Click Control Options and select clinical checking options to apply to new orders. |
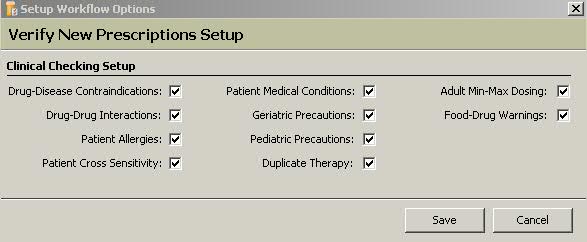
| Verify New Prescriptions | Check this option to display previously entered orders waiting for verification. Click Control Options and select clinical checking options for verification. |
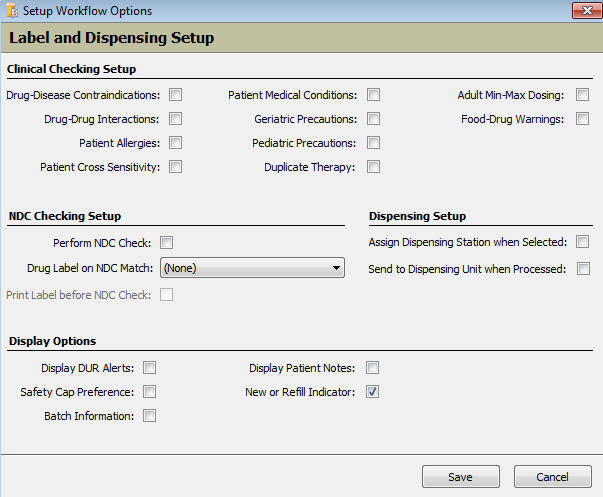
| Label & Dispensing | Check this option to display previously entered orders waiting for labeling/dispensing. Click Control Options to display clinical checking and NDC checking options. |
Auto Print Labels |
Check this option to print labels according to the fill function selected. The function prints labels automatically when the prescription is complete. If the system uses delayed labels with a fill and print function, the labels print automatically when prescriptions are adjudicated and paid outside the Workflow process. If this option is left unchecked, labels must be printed from the Workflow Labeling/Dispensing queue. |
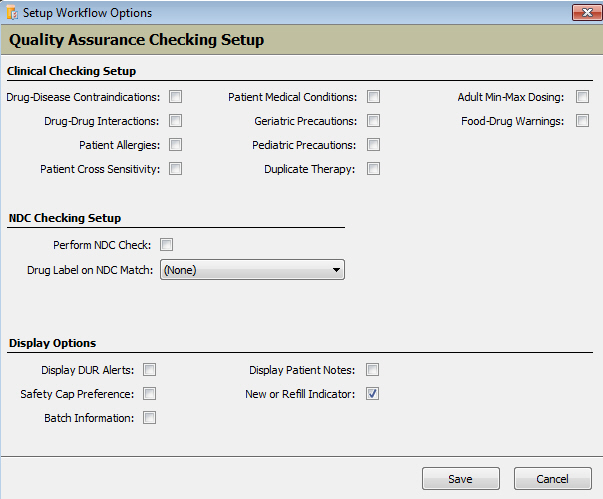
| Quality
Assurance Check
|
Check this option to display previously entered orders awaiting quality assurance checks. Click Control Options to display clinical checking and NDC checking options. |
Perform POS Check |
If this option is checked, a prescription cannot be checked out unless it has completed the QA Step in Workflow. |
| Delivery/Will Call | Check this option to display previously entered orders awaiting Order/Delivery Pickup. |
Record Patient Signature |
Check this option to prompt for patient's signature with delivery of the prescription. |
Record Delivery Information |
Check this option and the system automatically records delivery information in the Workflow Process. |
Print Drug Materials |
Store Control/Store Level Options/Pricing includes an option, Delay Printing Drug Materials until Workflow Delivery/Will Call, under Payment Options. If the option to delay drug material printing is checked, the label prints in Verification or Label/Dispensing, but not the Monograph, Nutrilink or MedGuide for all prescriptions. If the option, Print Drug Materials is not checked, and the system is authorized for ShipRx, the prescription delivery method is pre-pay and the ShipRx option for Delay Printing Drug Materials until Workflow Delivery/Will Call is checked, the label prints, but the Monograph, Nutrilink or MedGuides do not print for ShipRx prescriptions only. Drug material for other prescriptions continues to print.
Updated the workflow delivery process to determine if the Monograph, Nutrilink or MedGuide should be printed when processing items for delivery. If card pre-authorizations are not required (payroll deduction or other payment types not related to a credit card), drug information prints immediately when the prescription is processed from the Delivery/Will Call queue.
|
| Create/Edit Locations | Click Create Locations to add Will Call Locations. The screen has entry fields for Location, Refrigerated and Usage/Capacity. When locations are saved, the link changes to Edit Locations. Click Edit and the Will Call Edit screen displays. To add a new location, click New. |
| Auto Assign Locations | Added an Auto Assign Location check box below Create Locations. When checked, locations are automatically assigned during prescription processing. If Label and Dispensing is turned on, locations are assigned during this step. If it is not turned on, locations are assigned in the previous step (Verification). Prescriptions are assigned to the bin with the most storage space available. If a batch number has been assigned and one prescription processed, all subsequent prescriptions are placed in the same location. If a prescription requires refrigeration, it will be assigned to a refrigerated location with the most available storage space. Any additional refrigerated items for the same batch number will be assigned to the same refrigerated location. |
Assign Locations in POS |
If using Point-of-Sale, check this option to assign locations in POS and the select Create/Edit Locations to add the Will Call Locations. |
| Return to Stock After (Days) | Added Return to Stock After (Days) below Auto Assign Location. This value cannot be set below the IVR Days Between Fill and Last Call (if it is in use). During the Service Pack installation, the default value is three more days than the IVR value. |
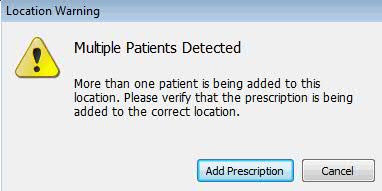
Multiple Patient per Location Warning |
Check this box to display Multiple Patient per Location when more than one patient is added to the same location. If a batch barcode is scanned and the batch contains multiple patients, the warning does not display. The location assignment function displays during the NDC Check from Label/Dispensing and Quality Assurance queues after a successful NDC match. The Store Option, Scan Will Call Bag, must be checked. Assign Locations displays on the Rx Task bar if Workflow Delivery/Will Call is checked. This option is defaulted to On. |
| Use Will Call Interface | Check this box to use the Will Call Interface. Click Manage Storage to display bag numbers and quantity. |
| Other Options | |
| Auto Complete on NDC Match | Check this option to change the status to Complete after the NDC Verification. |
| Include Compound Rxs for NDC Check | Check this option and the system prompts for the check for compound prescriptions during Labeling/Dispensing and/or Quality Assurance. This option can only be bypassed by an employee with security access override permission. |
| Save Rx Note as Workflow Note | Check this option for Rx notes to display in the WorkFlow Scan under the Note column. |
| Include Discontinued/Reassigned Rxs in Verify New Orders? | Check this option to return reassigned prescriptions to the Verify New Orders queue. |
| Click for Total Counts Higher than 50 Items | If this option is checked, counts above 50 are not verified unless the pharmacy clicks Total Item Counts. The Workflow queue stop counting if the number get above 50 and the scans display >50. Click >50 to display the total count. |
| Workflow File History | Check this option to transfer items removed from the Workflow file to the Workflow History file. |
| Send Profit Warnings to Error Resolution | When this box is checked the field becomes a link. Click the link to display the Setup Workflow Profit Warnings screen and enable the Profit Warnings to be sent to Error Resolution. |
| RPh Bypass New Order Entry | Select to allow the pharmacist to bypass New Order Entry and Verify New Order steps in Workflow. This enables the pharmacist to fill the prescription straight from the Rx Summary Record. |
 If the Monograph is embedded as part of the label (Routine 317
or 519), Monographs are not skipped and cannot be delayed. The
Nutrilink and MedGuide will be delayed. MedGuides are only affected
when using the LDM web service interface.
If the Monograph is embedded as part of the label (Routine 317
or 519), Monographs are not skipped and cannot be delayed. The
Nutrilink and MedGuide will be delayed. MedGuides are only affected
when using the LDM web service interface.