To create a new custom report:
1. Access NRx.
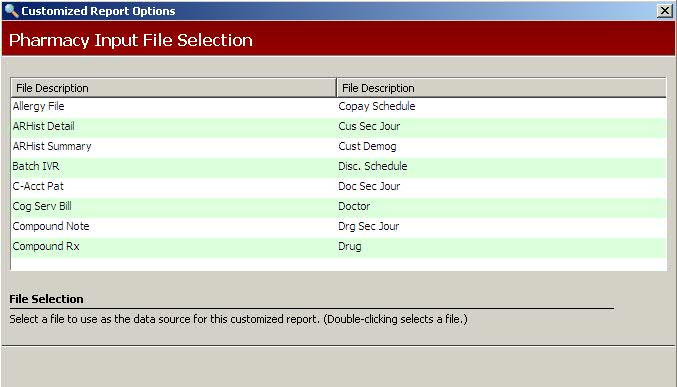
2. Click Reports. Select Customized and click New. Pharmacy Input File Selections display:
3. Click  on the horizontal
tool bar to display more file selections.
on the horizontal
tool bar to display more file selections.
4. Double click the file to use as the data source for the custom report. For example, click ARHist Summary and the Change Selection Fields display:
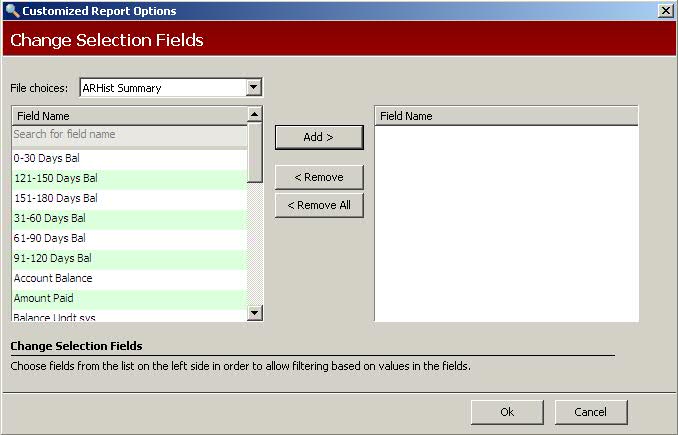
5. Select a field name from the left side of the window and click Add, or double click the field. The field selected displays on the right side of the screen:
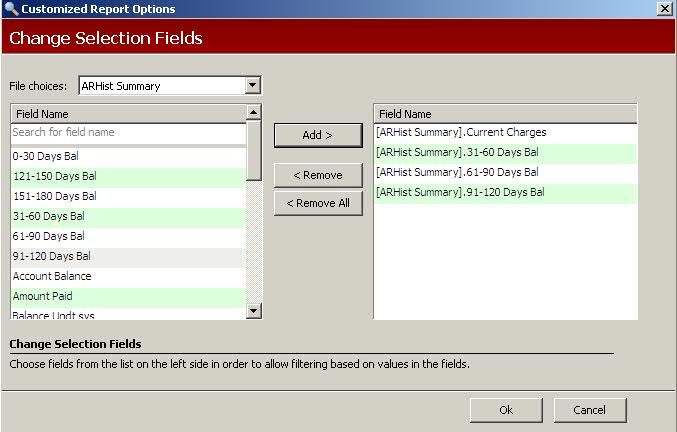
6. When all fields for the report are selected, click Ok. Select Options display the fields selected above:
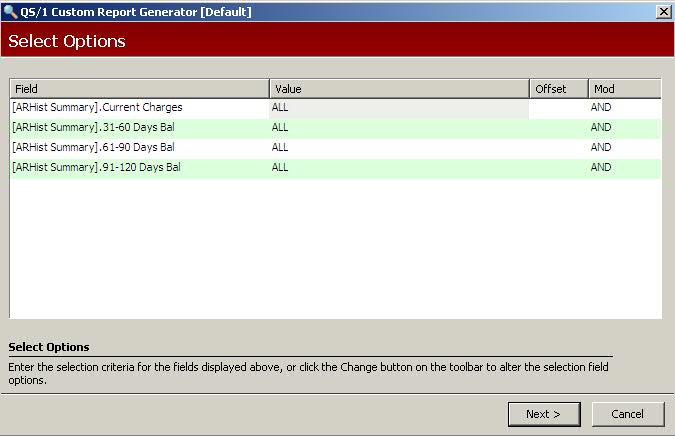
7. Complete the Select Options to determine the data to print on the report. Refer to the definitions below:
Value - The value is used to specify the exact data you need for your report. Review Value Field Options.
Offset - The Offset column is used to select records with figures entered in certain places in a particular field. For example, to select all insurance policies with the numbers 1234 in positions 12-15, type 1234 in the Value field. Tab to the Offset field and type 11. The system skips the first 11 positions of the field.
Mod - The Modifier default is AND which includes each line selection and ALL selections must be met. Set to OR to indicate that particular selection OR the following line selection must be met.
8. When the Select Options are complete, click  .
Change Sortable Field Selections display:
.
Change Sortable Field Selections display:
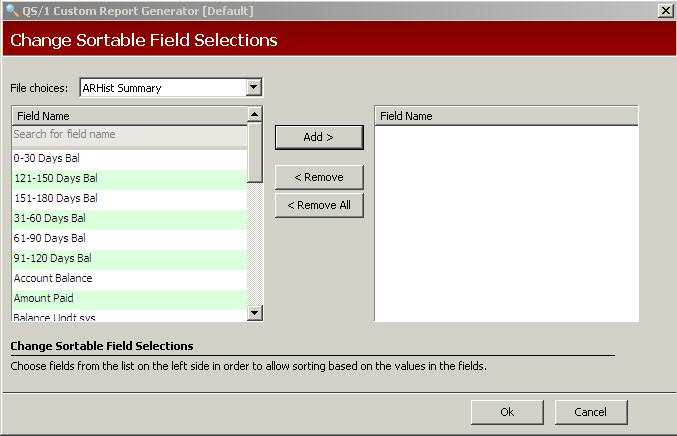
9. Select a field name from the left side of the window and click Add, or double click the field. The fields selected for the Sort Options display on the right side of the screen. Click Ok. Sort Options selected above display:
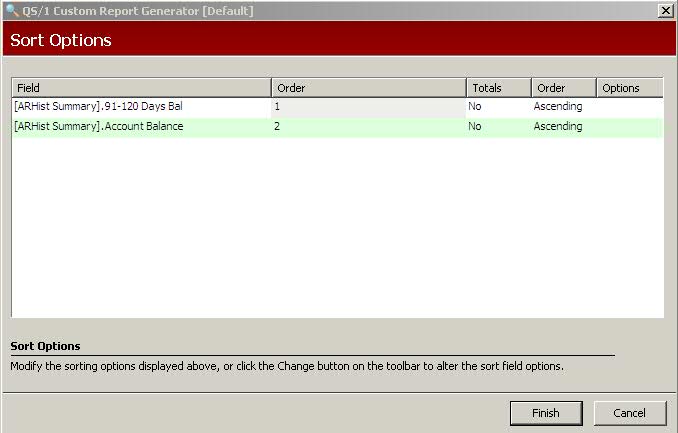
10. Complete the Sort Options and click . Change
Printed Fields display:
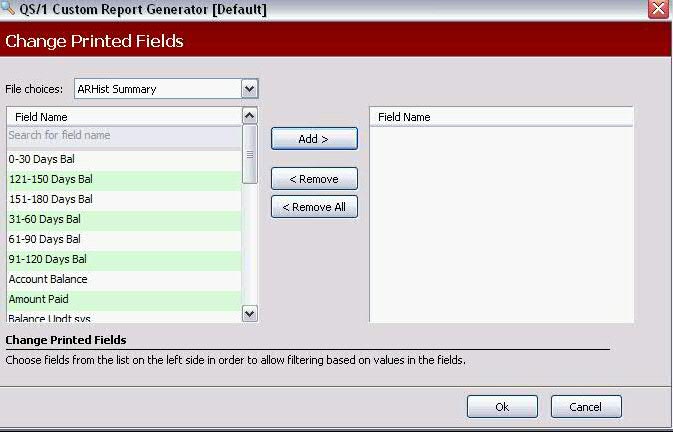
11. Follow the same process as with Select and Sort Options to select Print Choices.
12. When Change Printed Fields are selected, click Ok. Print Option Values display:
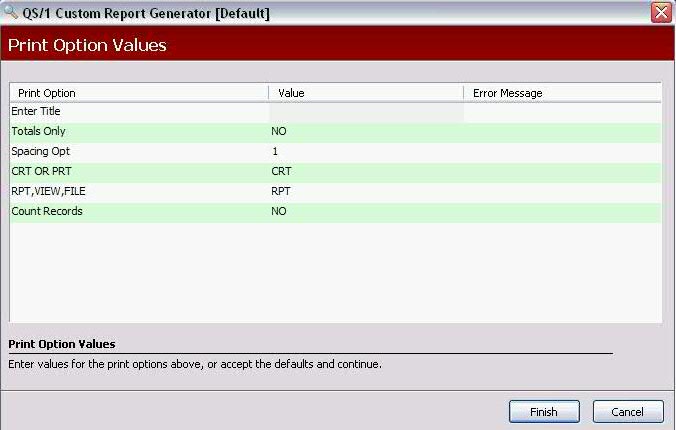
13. Use the following definitions to complete the Print Options:
Enter Title: Type a title for the report.
Totals Only: Type YES to print totals only. Type NO to print details.
Spacing Opt: Type 1 for single spacing, 2 for double spacing.
CRT or PRT: Type CRT to display the report on screen. Type PRT to print the report.
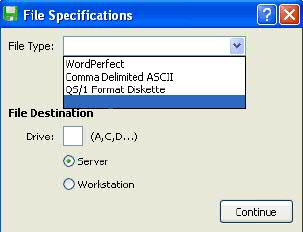
RPT, VIEW, FILE: This option works in conjunction with the CRT or PRT option. If CRT was selected, type VIEW to display one item at a time; type RPT to display a full screen of items. If PRT was selected, type RPT to print the report; type FILE to copy the report into an ASCII file on the hard drive. If FILE is typed, the File Specifications screen displays:
Count Records: Type YES to print a total of records on the report.
14. Verify entries are correct and click Finish. The report prints.